ASP.NET Hosting

How to Scale Images in a C# Console Application?

The provided code demonstrates a straightforward console application that resizes images.

Create a new C# console application project as the first step. In Visual Studio, you can execute the following procedures.

Open Visual Studio.
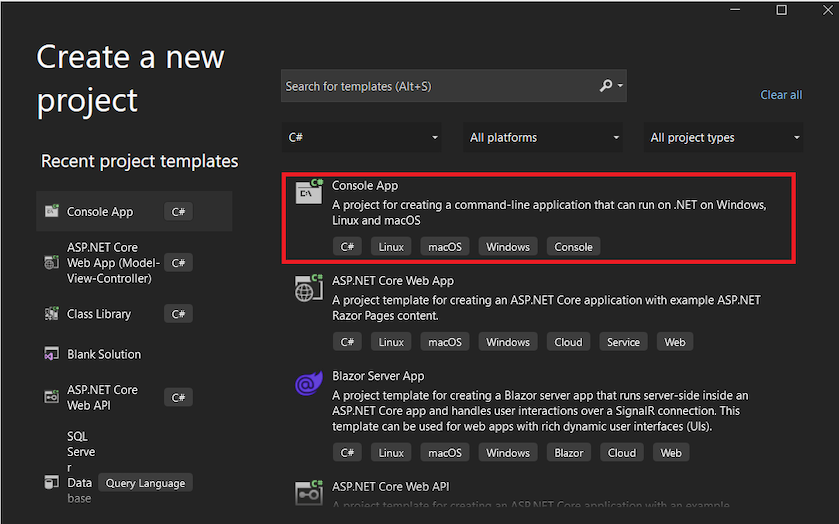
Choose “Create new project” or navigate to “File” > “New” > “Project.”
Select “Console App (.NET)” as the template for your project.

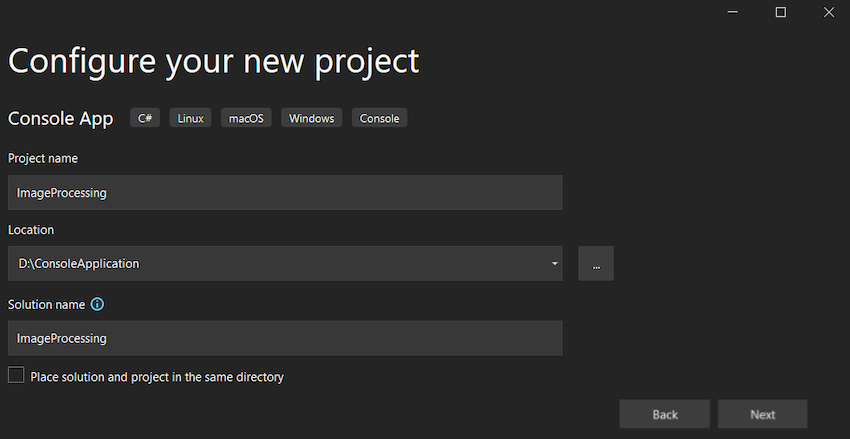
Enter a name for your project (e.g., “ImageProcessing”) and Choose a location to save the project.

Select Framework and click on Next.

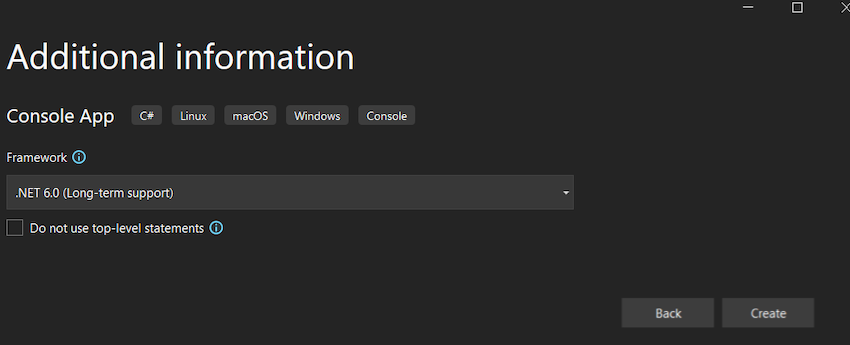
Click “Create” to create the project.

Use the below code in Program.cs and replace all to Resize the Image from the folder.

Image Resizer

using System;
using System.Drawing;
using System.IO;

namespace ImageResizeConsoleApp
{
    class Program
    {
        static void Main(string[] args)
        {
            // Path to the source folder
            string sourceFolderPath = @"D:\ConsoleApplication\inputDirectoryPath\";

            // Path to the destination folder
            string destinationFolderPath = @"D:\ConsoleApplication\outputDirectoryPath\";

            // Desired width and height for the resized image
            int targetWidth = 800;
            int targetHeight = 600;

            // Get all image files from the source folder
            string[] imageFiles = Directory.GetFiles(sourceFolderPath, "*.jpg");

            foreach (string imagePath in imageFiles)
            {
                // Load the source image
                Image sourceImage = Image.FromFile(imagePath);

                // Create a new bitmap with the desired size
                Bitmap resizedImage = new Bitmap(targetWidth, targetHeight);

                // Create a graphics object from the resized image
                using (Graphics graphics = Graphics.FromImage(resizedImage))
                {
                    // Set the interpolation mode to high quality
                    graphics.InterpolationMode = System.Drawing.Drawing2D.InterpolationMode.HighQualityBicubic;

                    // Draw the source image onto the resized image with the desired size
                    graphics.DrawImage(sourceImage, 0, 0, targetWidth, targetHeight);
                }

                // Generate a unique filename for the resized image
                string resizedImagePath = Path.Combine(destinationFolderPath, GenerateUniqueFileName());

                // Save the resized image to the destination folder
                resizedImage.Save(resizedImagePath);

                // Cleanup
                sourceImage.Dispose();
                resizedImage.Dispose();

                Console.WriteLine($"Image resized and saved: {resizedImagePath}");
            }

            Console.WriteLine("All images resized and saved successfully.");
        }

        static string GenerateUniqueFileName()
        {
            // Generate a unique filename using a timestamp
            string timestamp = DateTime.Now.ToString("yyyyMMddHHmmssfff");
            string extension = ".jpg"; // or use the extension of your source image
            return $"resized_{timestamp}{extension}";
        }
    }
}

To test the code, follow these steps,

  • Create a folder on your computer and note the folder path.
    Eg: “D:\ConsoleApplication\inputDirectoryPath\”;
  • Update the folderPath variable in the code with the path of the folder you created.
    Eg:  “D:\ConsoleApplication\inputDirectoryPath\”;
  • Keep images inside the folder you want to resize.
  • Build and run the application. You will see the Image resize process starting, followed by messages indicating each Image resize and saved.

I hope this blog post has provided you with an understanding of the Console Application to Resize an Image from a specific folder and save into a specific folder.

Thank you for reading, and happy coding!”.

ASP.NET Core 8 Hosting Recommendation

HostForLIFE.eu

HostForLIFE.eu is a popular recommendation that offers various hosting choices. Starting from shared hosting to dedicated servers, you will find options fit for beginners and popular websites. It offers various hosting choices if you want to scale up. Also, you get flexible billing plans where you can choose to purchase a subscription even for one or six months.