
ASP.NET Tutorial: How to Simplifying File Uploads with .NET Core 7 Minimal APIs?
We are going to discuss single file uploads with the help of the IFormFile Interface and others that are provided by .NET and step-by. y-step, i.e .NET Core 7 Minimal API.
Introduction
.NET Core 7 brings a new way to create APIs that are lightweight and easy to use. These APIs are called Minimal APIs, and they make building APIs simpler and faster.
In this article, we’ll learn how to use Minimal APIs to create a file upload feature. This means we can easily upload files like images or documents to our server using a simple API.
Prerequisites
- .NET Core 7 SDK
- Visual Studio 2022
- Postman
Creating a New Project in Visual Studio
Creating a New Project in Visual Studio 2022 Start the Visual Studio software and select “Create a new project.”
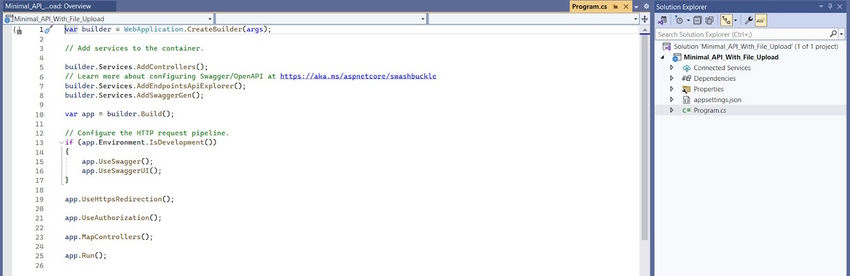
The code snippet app.MapGet(“/”, () => “Hello World!”); sets up a minimal API endpoint that responds with “Hello World!” when you send a GET request to the root (“/”) URL.
And run applications to build swagger UI for testing minimal API endpoints.
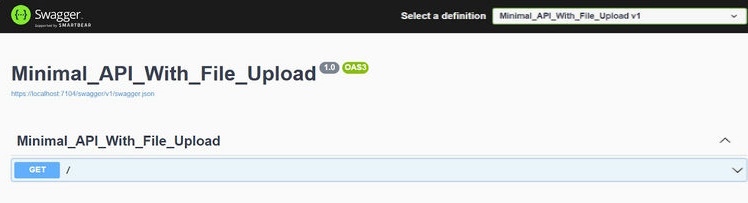
Running the application with Swagger UI will allow you to test the minimal API endpoints interactively. Swagger UI provides a user-friendly interface for exploring and testing the endpoints of your API. It generates documentation for your API based on metadata and allows users to interact with the API directly from their web browser.
Implementation for FileUpload MinimalAPI
This is the constructor of the class. It accepts an IWebHostEnvironment parameter, which is used to access the web hosting environment. It’s injected into the class using dependency injection.
This method handles the file upload process. It takes three parameters.
- file: The file to be uploaded.
- Location: The location where the file should be saved.
- context: The HTTP context, which provides access to the request and response objects.
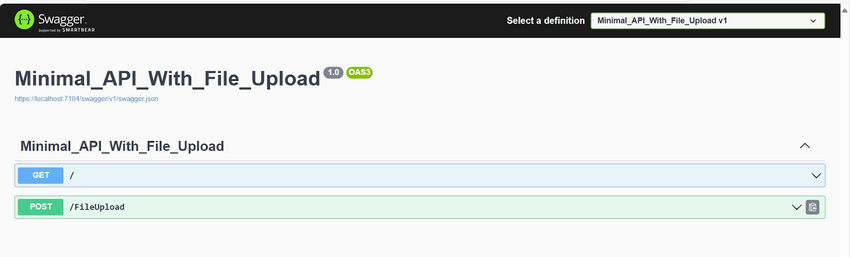
I have completed the development of the file upload minimal API, and I am now testing it using Postman.
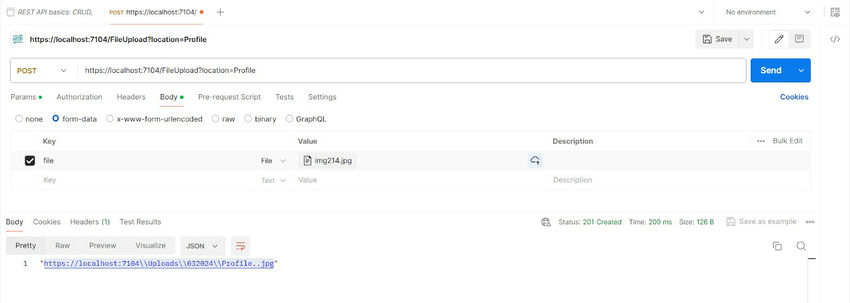
The API response URL doesn’t work in the browser because we haven’t configured the UseStaticFiles() middleware yet. Once we configure it, the images will be displayed correctly.

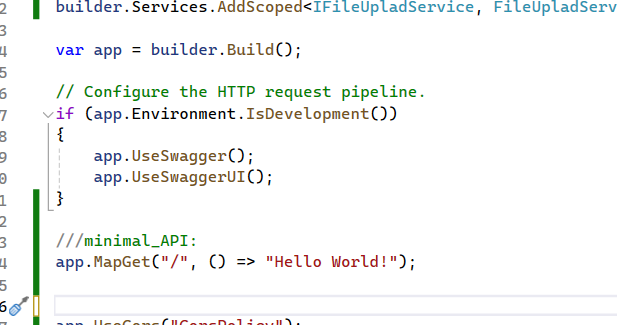
///minimal_API:
app.MapGet("/", () => "Hello World!");

app.MapPost("/FileUpload", async (HttpContext context, string location,IFileUpladService fileUpladService) =>
{
    var form = await context.Request.ReadFormAsync();
    var files = form.Files;
    var file = files.Any() && files.Count > 0 ? files[0] : null;
    var response = await fileUpladService.FileUpload(file, location, context);
    return Results.Created("FileUrl",response);
});
app.UseCors("CorsPolicy");
app.UseHttpsRedirection();

app.UseAuthorization();
app.UseStaticFiles();
app.MapControllers();

app.Run();
app.UseStaticFiles(); in program .cs file.
Finally, the image will be displayed in the browser.
ASP.NET Core 8 Hosting Recommendation
HostForLIFE.eu
HostForLIFE.eu is a popular recommendation that offers various hosting choices. Starting from shared hosting to dedicated servers, you will find options fit for beginners and popular websites. It offers various hosting choices if you want to scale up. Also, you get flexible billing plans where you can choose to purchase a subscription even for one or six months.