
Knowing Model Binding in.NET 8 and ASP.NET Core
In this article, I will explain what model binding is in .NET Core and how it works when a user makes a request, mapping the request data to action method parameters using various model binding techniques. .NET Core offers a powerful model binding feature that automatically maps client request data to action method parameters and processes the response efficiently.
I will provide detailed demonstrations of various model binding techniques, including how to bind data from query strings, form submissions, route parameters, HTTP headers, and the request body. Each technique will be explained step by step using Swagger UI requests and corresponding action methods. Additionally, we will use debugging mode to visually illustrate the binding process, making it simple and easy to understand.
What does the.NET Core’s model binding mean?
One of ASP.NET Core’s most useful features is model binding, which makes it easier to convert HTTP request data to action method arguments or model properties. It makes it easier to extract data from a variety of sources, including headers, query strings, form submissions, and route parameters. Let’s take a closer look at how ASP.NET Core handles model binding.
Overview of Model Binding
The practice of mapping data from HTTP requests (such as query strings, form data, and route data) to properties of model classes or action method arguments is known as model binding.
This is an automatic operation that takes place prior to the call to your action method.
Standard Model Binding Procedure
The method by which the framework takes information out of a request and converts it to action parameters or model attributes is called model binding. Model binding is used by ASP.NET Core to set model properties, perform validation, and fill action method arguments. The sources of this data can vary, as the list below illustrates.
| Model Binding | From where data extracted |
| Query strings | Data from URL query parameters |
| Form data | Data submitted in forms (POST requests) |
| Route data | Data extracted from the URL route |
| Headers | Data from HTTP headers |
| Request body | Data from the request body (e.g., JSON payload) |
Let’s explore each concept with examples. First, we’ll create a Product class that we’ll use in our API for demonstration purposes.
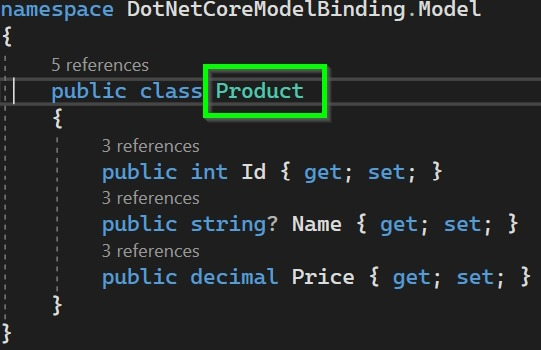
public class Product
{
    public int Id { get; set; }
    public string Name { get; set; }
    public decimal Price { get; set; }
}
Now, create ProductController with all types of binding.
using DotNetCoreModelBinding.Model;
using Microsoft.AspNetCore.Http;
using Microsoft.AspNetCore.Mvc;
namespace DotNetCoreModelBinding.Controllers
{
[Route("api/[controller]")]
[ApiController]
public class ProductsController : ControllerBase
{
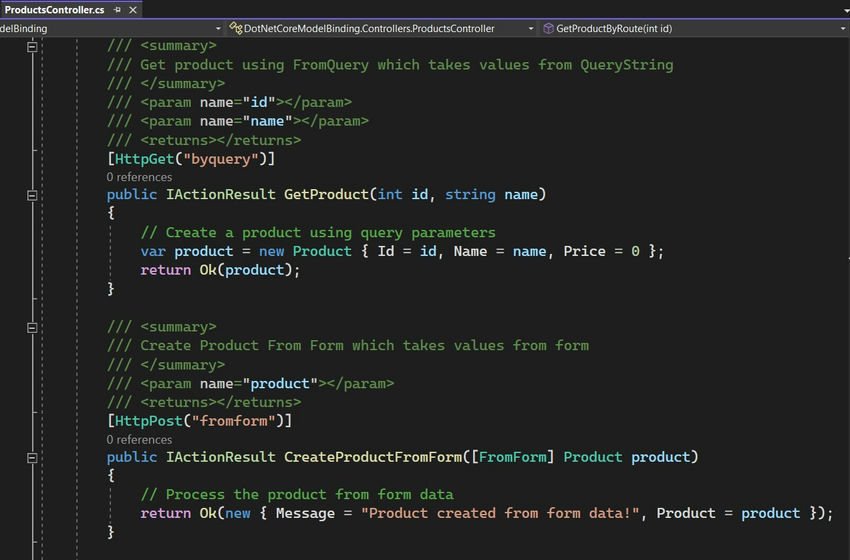
/// <summary>
/// Get product using FromQuery which takes values from QueryString
/// </summary>
/// <param name="id"></param>
/// <param name="name"></param>
/// <returns></returns>
[HttpGet("byquery")]
public IActionResult GetProduct(int id, string name)
{
// Create a product using query parameters
var product = new Product { Id = id, Name = name, Price = 0 };
return Ok(product);
}
/// <summary>
/// Create Product From Form which takes values from form
/// </summary>
/// <param name="product"></param>
/// <returns></returns>
[HttpPost("fromform")]
public IActionResult CreateProductFromForm([FromForm] Product product)
{
// Process the product from form data
return Ok(new { Message = "Product created from form data!", Product = product });
}
/// <summary>
/// Create Product From Form which takes values from Route
/// </summary>
/// <param name="id"></param>
/// <returns></returns>
[HttpGet("byroute/{id}")]
public IActionResult GetProductByRoute([FromRoute] int id)
{
// Create a product using route data
var product = new Product { Id = id, Name = "ProductC", Price = 0 };
return Ok(product);
}
/// <summary>
/// Get Product From Form which takes values from header
/// </summary>
/// <param name="id"></param>
/// <param name="name"></param>
/// <returns></returns>
[HttpGet("byheader")]
public IActionResult GetProductByHeader([FromHeader(Name = "X-Product-Id")] int id, [FromHeader(Name = "X-Product-Name")] string name)
{
// Create a product using header data
var product = new Product { Id = id, Name = name, Price = 0 };
return Ok(product);
}
/// <summary>
/// Create Product From Form which takes values from body
/// </summary>
/// <param name="product"></param>
/// <returns></returns>
[HttpPost("bybody")]
public IActionResult CreateProductByBody([FromBody] Product product)
{
// Process the product from request body data
return Ok(new { Message = "Product created from request body!", Product = product });
}
}
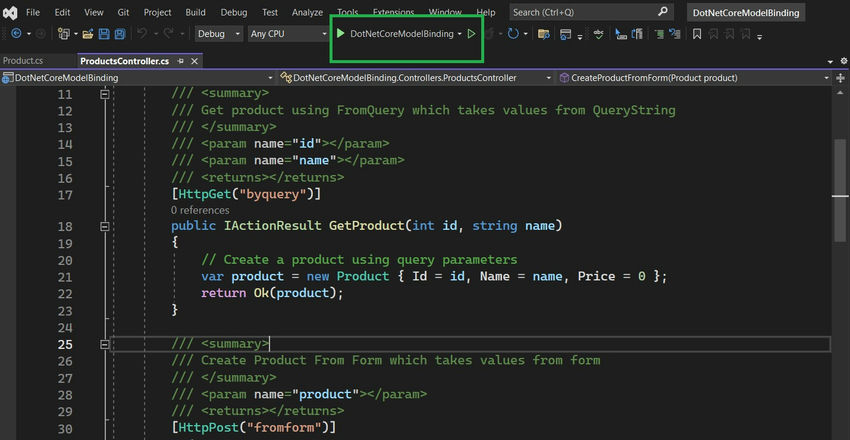
}After running the project, we will be directed to the Swagger homepage, which displays a list of all available endpoints. From there, we will explore each type of binding in detail.
This section illustrates several approaches to model binding in .NET Core using Swagger.
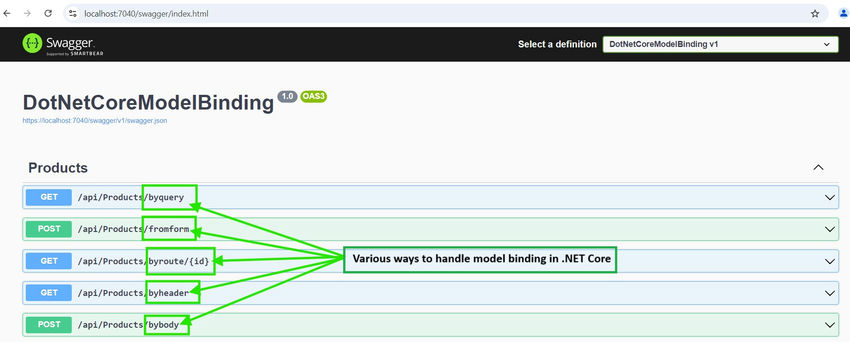
Let’s go through each approach individually using the Swagger UI. Enter the necessary values for the endpoints, and use the Visual Studio debugger to inspect these values in detail.
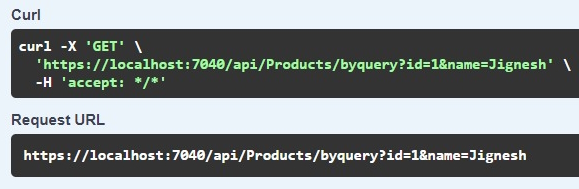
1. ByQuery
On the screen below, you can observe how the ID and name passed as query strings are mapped in the GetProduct method.
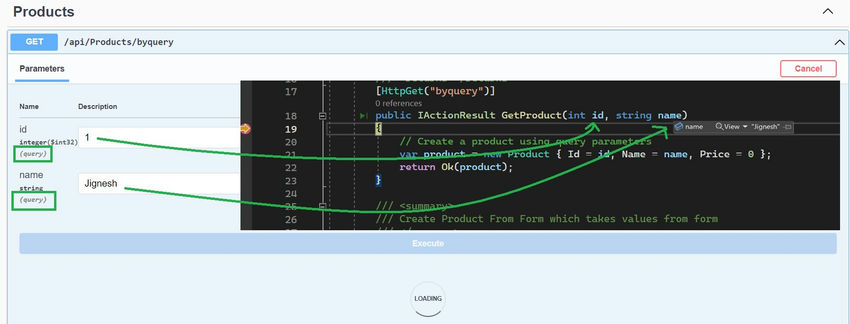
Extract data from the Query String
ASP.NET Core 9 Hosting Recommendation
HostForLIFE.eu
HostForLIFE.eu is a popular recommendation that offers various hosting choices. Starting from shared hosting to dedicated servers, you will find options fit for beginners and popular websites. It offers various hosting choices if you want to scale up. Also, you get flexible billing plans where you can choose to purchase a subscription even for one or six months.